Your Home Deserves a Painter You Can Trust
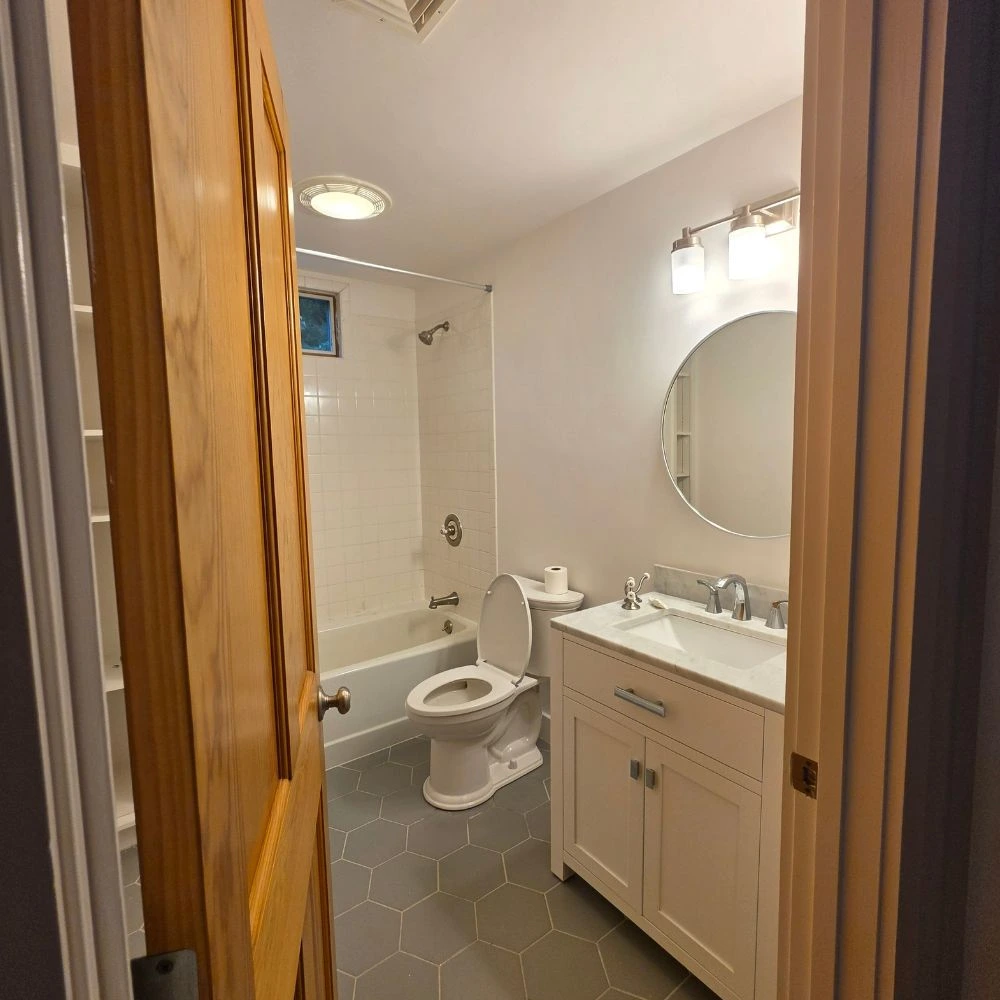
How long to let caulk dry before showering depends on the product. Some specialized bathroom sealants allow water exposure after 30 minutes, while other products require 12 to 18 hours or longer. Always follow the manufacturer’s stated water ready time rather than assuming every caulk needs the same waiting period.
The distinction matters because caulk that feels dry on the surface may still be curing underneath. Using the shower before the product is ready can interfere with adhesion, weaken the seal and create openings where water can penetrate.
TL;DR
- 100% silicone caulk: Water exposure times vary by formulation. Some GE products allow it after 30 minutes, while others require 12 hours. Many standard silicone products need approximately 24 hours or longer to cure fully.
- Acrylic latex caulk: Some bathroom formulations require 18 hours before water exposure, even though they may feel dry much sooner.
- Siliconized acrylic caulk: Drying and curing times vary. Some formulations take several days to cure fully.
- Hybrid sealants: Certain advanced products are specifically formulated to become water ready in as little as 30 minutes.
- Best practice: Check the cartridge or technical data sheet for the exact water ready time, not just the touch dry or full cure time.
If the label gives separate drying, water ready and full cure times, use the water ready time to determine when you can shower.
Drying Time vs Curing Time
Drying and curing are related, but they do not mean the same thing. Understanding the difference helps explain why caulk can feel dry while still being unsuitable for certain conditions.
What Does It Mean When Caulk Is Dry?
Drying generally refers to the loss of moisture or the formation of a surface skin. For water based acrylic latex caulk, water gradually evaporates from the material. The exposed surface may become dry to the touch while moisture remains deeper inside the bead.
Silicone works differently. It reacts with moisture in the surrounding air to form a flexible rubber like material. A skin develops on the outside before the entire bead has cured. A dry or tack free surface does not necessarily mean the product is ready for shower use.
What Does It Mean When Caulk Is Fully Cured?
Curing is the process through which a sealant develops its intended physical properties. Depending on the formulation, this involves chemical reactions, moisture assisted curing or the evaporation of water and the formation of a stable film.
Once sufficiently cured, the sealant develops the adhesion, flexibility and water resistance specified by its manufacturer.
However, full curing and water readiness are not always the same milestone. A product may be approved for water exposure before reaching its stated full cure time.
GE lists a 30-minute water exposure time and a 24-hour full cure time for Silicone 2+ sealant. DAP lists a 30-minute water ready time and a 24-hour full cure time for its AMP Kitchen & Bath sealant.
The important distinction: Use the manufacturer’s water ready time to determine when you can shower. Do not automatically wait for full cure if the product explicitly permits earlier water exposure, and do not assume that a tack free surface is ready for water.
How Long Different Types of Bathroom Caulk Take to Become Water Ready
The type of sealant you use has a significant effect on how long you need to keep your shower out of service. The following examples demonstrate why checking the exact product matters.
1. 100% Silicone Caulk
100% silicone is widely used around showers, bathtubs, sinks and other areas regularly exposed to water. It forms a flexible, waterproof seal that accommodates some movement between adjoining surfaces. Unlike ordinary acrylic latex caulk, standard 100% silicone is generally not paintable. Its water ready time depends on the specific formulation.
- GE Silicone 2+: Allows water exposure after 30 minutes and lists a full cure time of 24 hours.
- GE Silicone 1: Requires 12 hours before water exposure and lists a full cure time of 24 hours.
GE also explains that a standard 3/16-inch bead normally cures completely in approximately 24 hours, although cooler or drier conditions can extend this to as long as 48 hours.
Even products from the same manufacturer can have different water exposure requirements. Do not assume that every silicone caulk is ready for shower use after 30 minutes.
2. Acrylic Latex Caulk
Acrylic latex caulk is water based and generally easier to apply and clean up than silicone. However, not every acrylic latex formulation is suitable for a shower or another area with frequent direct water exposure.
Some products are intended primarily for interior trim, walls and other joints that do not experience regular water contact. Bathroom rated formulations are available, but their water resistance and waiting periods vary.
Before using acrylic latex caulk in a shower, verify that the product is specifically approved for that application.
3. Siliconized Acrylic Caulk
Siliconized acrylic caulk combines an acrylic-based formulation with added silicone to improve flexibility and adhesion.
It is typically paintable and offers easier cleanup than conventional silicone. However, adding silicone does not automatically make a product equivalent to 100% silicone.
DAP KWIK SEAL PLUS, a siliconized acrylic latex sealant intended for showers, tubs, sinks and other bathroom applications. Its technical data sheet specifies:
- Tack free time: 30 minutes.
- Water ready time: 18 hours.
- Full dry through: 7–14 days.
This is an important distinction. The product may be ready for shower exposure well before it has dried completely through.
4. Hybrid and Advanced Polymer Sealants
Some modern bathroom sealants use modified polymer or hybrid formulations rather than traditional silicone or acrylic latex chemistry.
These products may offer a combination of flexibility, adhesion and water resistance. DAP AMP Kitchen & Bath Sealant is an advanced modified polymer product with a stated water ready time of 30 minutes and a full cure time of 24 hours.
Its technical data sheet specifies that the 30-minute water ready performance is associated with the manufacturer’s recommended bead size and application conditions.
This is why the product category alone cannot tell you when a shower is safe to use. The exact formulation and its technical specifications matter more than whether the cartridge simply says waterproof or kitchen and bath.
Book Your Free Estimate Today!
Ready to transform your space? Our team is here to help you get started with a no-obligation, on-site estimate. Whether it’s a quick refresh or a full makeover, we’ll guide you every step of the way.
What Affects Bathroom Caulk Drying and Curing Time?
Even when two homeowners use the same sealant, their results may differ because application and environmental conditions are not identical. Several factors can affect how quickly caulk becomes ready for water exposure.
1. Temperature
Temperature affects how sealants dry and cure. Cool conditions can slow the curing process of silicone and the drying process of acrylic based products.
Manufacturers specify application temperature ranges because the sealant, surrounding air and surfaces all affect product performance. DAP KWIK SEAL PLUS specifies an application temperature range of 40°F to 120°F. A bathroom that feels comfortable to a person may still have cold tile, a cold bathtub or poorly heated surfaces.
Follow the product’s temperature requirements rather than relying only on the room temperature.
2. Humidity
Humidity affects different sealant chemistries in different ways.
- Silicone: Requires moisture from the surrounding air to cure. Very dry air can slow this process.
- Acrylic latex: Relies on water evaporation. High humidity can slow drying because moisture escapes from the sealant less readily.
GE specifically identifies low humidity as a condition that can slow silicone curing and high humidity as a condition that can slow acrylic sealant drying.
This difference is important in bathrooms, where humidity can fluctuate considerably depending on ventilation and recent shower use.
3. Ventilation and Air Circulation
Ventilation helps manage bathroom moisture, but it does not automatically make newly applied caulk cure faster.
For water based caulk, reasonable air circulation can help moisture evaporate. However, excessive humidity can still delay drying.
For silicone, the curing process depends partly on moisture in the air. Extremely dry conditions may slow curing.
A practical approach is to keep the bathroom at a stable temperature and follow the manufacturer’s environmental recommendations. Avoid directing strong heat or airflow directly at the fresh bead.
4. Bead Thickness and Depth
The thickness of the caulk bead can significantly affect drying and curing time. A thin bead generally has less material to dry or cure than a deep, oversized application.
For silicone, moisture must reach the material as the sealant cures. A thicker bead can therefore take longer to cure through.
For acrylic based products, water must escape from the material. A deep joint can retain moisture longer than a thin surface application.
This is one reason manufacturers specify recommended joint dimensions and bead sizes. Do not apply an unnecessarily thick layer simply to fill a large opening. If the gap is too deep, the manufacturer may recommend a compatible backer rod to control sealant depth.
5. Product Formulation
Two products labeled kitchen and bath caulk may have very different chemical compositions and performance characteristics. One may be a traditional acrylic latex sealant, while another uses silicone or modified polymer technology. These differences affect:
- Water ready time.
- Tack free time.
- Full cure time.
- Flexibility.
- Adhesion.
- Suitability for continuous or frequent water exposure.
Always identify the actual product rather than making assumptions based on its color, packaging or general category.
How to Know When Caulk Is Ready for Shower Use
Determining whether bathroom caulk is ready for water exposure requires more than looking at its surface. There are several things you can check.
1. Check the product’s water ready instructions. Find the manufacturer’s stated water exposure or return to service time. This is the most important reference for deciding when to use the shower.
2. Confirm that the required waiting period has passed. Count from the time the sealant was applied, not from when you first noticed that its surface looked dry.
3. Look for obvious application problems. The bead should not have visible gaps, separated edges or sections that have pulled away from the tile or tub.
4. Check for unexpected changes. Persistent wetness, unusual soft spots or areas that appear to have slumped may indicate an application or curing problem. However, appearance alone cannot establish that the entire bead has cured.
5. Do not use a finger press test as proof of water readiness. Touching the surface may tell you whether it feels tacky, but it cannot reliably establish the condition of the material underneath.
A bead can develop a dry surface while remaining uncured internally. The best confirmation is the manufacturer’s specified waiting period combined with a properly applied, undamaged bead.
Book Your Free Estimate Today!
Ready to transform your space? Our team is here to help you get started with a no-obligation, on-site estimate. Whether it’s a quick refresh or a full makeover, we’ll guide you every step of the way.
What Happens If You Shower Before Caulk Is Ready?
Showering too soon after caulking can interfere with the sealant’s ability to develop a reliable bond. The exact consequences depend on the product, how recently it was applied and how much water reaches the fresh bead. Potential problems include:
1. Poor Adhesion
Fresh caulk needs sufficient time to establish proper adhesion to the surrounding surfaces. If water reaches the joint too early, it may interfere with the bonding process, particularly when the product requires dry conditions during application or early curing. The result can be a bead that separates from the tile, bathtub or shower surround.
2. Surface Damage
Direct water exposure can disturb an uncured bead. Water pressure, splashing and physical contact can cause some sealants to become uneven, develop imperfections or lose their original shape. This is particularly concerning around shower corners and tub edges, where a continuous seal is important.
3. Water Penetration Behind the Seal
A poorly bonded or damaged caulk bead may leave small openings along the joint. Water can travel through these openings and reach areas behind the shower surround or bathtub. Depending on the surrounding materials and construction, repeated moisture exposure can contribute to deterioration, staining and mold growth.
4. Premature Seal Failure
Caulk that does not adhere properly may begin peeling, cracking or separating sooner than expected. Even if the bead initially looks acceptable, an underlying adhesion problem can become noticeable after repeated use. This is why respecting the product’s water ready time is more reliable than judging the appearance immediately after application.
What Should You Do If Caulk Gets Wet Before the Recommended Time?
Accidental water exposure does not automatically mean the entire caulking job needs to be replaced. The appropriate response depends on the sealant, the amount of water exposure and the condition of the bead afterward. Follow these steps:
Step 1: Stop using the shower. Avoid additional water exposure until you have checked the manufacturer’s instructions and assessed the affected area.
Step 2: Allow the area to dry. If the product permits recovery after incidental moisture exposure, allow the surrounding area to dry under the conditions recommended by the manufacturer. Do not use a hair dryer, heat gun or other concentrated heat source to force the process.
Step 3: Inspect the sealant. Look for: Caulk pulling away from the tile or tub. Gaps between the sealant and the adjoining surfaces. Areas that have become distorted or washed out. Bubbles, holes or uneven sections. Persistent softness or other signs that curing has not progressed normally. Remember that an acceptable looking surface does not prove proper adhesion underneath.
Step 4: Consult the product manufacturer. Check the technical data sheet or contact the manufacturer’s technical support if the sealant was exposed to water before its specified waiting period. There is no universal recovery period for prematurely wetted caulk.
Step 5: Remove and replace compromised caulk when necessary. If the bead has lost adhesion, developed gaps or failed to cure correctly, removing it and applying fresh sealant is generally more reliable than covering the damaged material with another layer. New sealant needs a properly prepared surface to achieve good adhesion. Do not apply fresh caulk over a wet, contaminated or poorly bonded bead.
Practical Caulking Advice for Shower Corners and Bathtub Edges
Different bathroom joints experience different types of movement and moisture exposure. Choosing the correct sealant and applying it properly are just as important as waiting for it to dry.
Shower Corners
Vertical shower corners connect two adjoining surfaces that may move slightly relative to one another. Use a sealant specifically approved for shower applications and compatible with both surfaces. Before applying new caulk:
- Remove the old sealant completely.
- Clean away soap residue, dirt and other contaminants.
- Make sure the joint is dry if the product requires a dry surface.
- Apply a consistent bead without leaving gaps.
- Allow the sealant to become water ready before using the shower.
GE recommends removing old silicone for better adhesion because new silicone does not bond to existing silicone as reliably as it bonds to a properly prepared surface.
Bathtub Edges
The joint between a bathtub and the surrounding wall can experience movement when the tub is filled or someone enters it. This movement can place stress on the caulk.
For this reason, follow the sealant manufacturer’s instructions concerning joint preparation and whether the bathtub should be filled during application or curing. Do not assume every product requires the same procedure. Use a flexible sealant rated for bathroom conditions, and make sure it adheres to both surfaces.
Shower Glass and Tile Joints
Shower enclosures often have joints between glass, metal framing and tile. Not every sealant is compatible with every material. Some metals and plastics require specific formulations or adhesion testing. Check the product’s approved substrates before applying it around shower doors or enclosure frames. Also, follow the enclosure manufacturer’s instructions about which joints should be sealed. Sealing the wrong drainage openings can interfere with the enclosure’s intended water management design.
When Should You Hire a Professional?
Replacing bathroom caulk is a manageable DIY project when the existing joint is in good condition and the homeowner can prepare the surfaces properly. However, professional assistance may be worthwhile when:
Old caulk is difficult to remove completely. The joint has recurring gaps or adhesion problems. There are signs of moisture damage behind the shower or bathtub. The surrounding tile or grout is damaged. The joint is unusually wide or deep. You are unsure which sealant is compatible with the surfaces.
It is also important to recognize that caulk cannot correct every bathroom water problem. A leak behind a shower wall, failed waterproofing membrane, damaged plumbing connection or improperly installed shower assembly requires a different repair.
Pro A&M Painting approaches painting and surface preparation work with an understanding that the condition of the underlying surface matters. For homeowners planning bathroom improvements, identifying damaged or poorly prepared surfaces before finishing work helps prevent avoidable problems. The right repair should address the source of the moisture rather than simply covering visible damage.
Conclusion
Knowing how long to let caulk dry before showering comes down to understanding the product rather than relying on a universal waiting period.
Silicone, acrylic latex, siliconized acrylic and hybrid sealants have different drying and curing characteristics. Even products within the same category can have significantly different water exposure requirements.
Check the cartridge and technical data sheet, account for temperature and humidity and make sure the bead has been applied correctly.
For homeowners who want dependable bathroom finishes, Pro A&M Painting emphasizes the value of sound surface preparation and using materials suited to the conditions they will face.
Giving newly applied caulk the time its manufacturer specifies helps protect the seal and reduces the risk of avoidable repairs.