Your Home Deserves a Painter You Can Trust
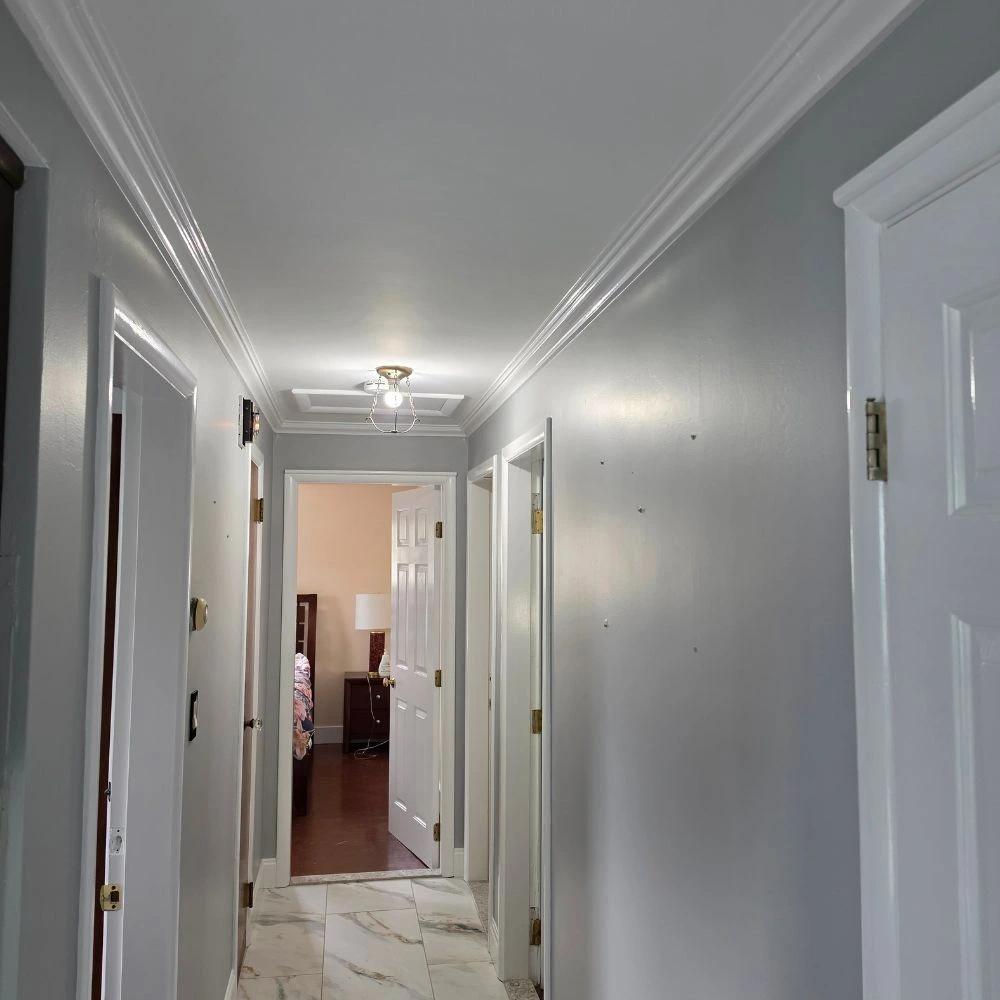
How to paint a 6 panel door starts with proper surface preparation, the right paint and a consistent application order. Clean the door, sand the existing finish where necessary, apply a compatible primer and paint the recessed panels before moving to the center stile, horizontal rails and outer stiles. This method helps prevent drips, uneven coverage and excessive paint buildup.
TL;DR
- Prepare the door first: Remove hardware, clean away dirt and grease, repair surface damage and lightly sand compatible surfaces.
- Choose the right paint: Use a durable interior door and trim enamel for interior doors, with a finish such as satin or semi gloss.
- Follow the correct painting order: Start with the recessed panels, then paint the center stile, horizontal rails and vertical stiles.
- Use the right application tools: An angled sash brush works well for recessed details, while a small foam or microfiber roller helps cover broader, flat sections.
- Allow sufficient drying time: Follow the manufacturer’s recoat instructions and avoid closing the door against its frame before the coating is ready.
What Makes a Six Panel Door Different to Paint?
A six panel door has six recessed or raised panel sections separated by horizontal and vertical framing components. Unlike a completely flat door, its design contains corners, grooves, edges and transitions where excess paint can collect. The main challenge is applying an even coating without leaving brush marks, visible roller stipple, paint ridges or drips inside the recessed corners.
A successful paint job depends on controlling how much paint goes onto each section. Applying too much material in the panel corners can create thick spots that remain visible after the paint dries. The door’s construction also matters. Traditional six panel doors may be made from solid wood, engineered wood, MDF or composite materials. Each surface can require a different preparation and priming approach.
Before starting, identify the door material and check the condition of its existing finish. This determines which products and preparation methods are suitable.
Tools and Materials Needed to Paint a Six Panel Door
Gather everything before starting. Having the right equipment nearby makes it easier to maintain a consistent application without stopping halfway through the job.
Essential Painting Tools
- 2-inch angled sash brush for recessed panels, corners and edges.
- High quality synthetic bristle brush for water based paint.
- Small microfiber or foam roller with a compatible cover.
- Paint tray or small paint container.
- Sanding block or suitable sanding sponge.
- Vacuum with a brush attachment.
- Clean microfiber cloth.
- Putty knife for minor repairs.
- Drop cloth or protective floor covering.
- Painter’s tape. Screwdriver for removing hardware.
- Paint stirrer.
Materials
- Mild cleaning solution or a suitable degreasing cleaner.
- Clean water for rinsing when required by the cleaning product.
- Fine grit sandpaper, commonly around 180 to 220 grit for light smoothing.
- Compatible wood filler or repair compound, if necessary.
- Primer appropriate for the door’s material and existing coating.
- Interior door and trim paint.
- Safety glasses and suitable protective gloves.
- Dust protection appropriate to the work being performed.
A previously painted door in good condition may not require full priming or extensive repairs. However, skipping preparation simply because the existing paint looks acceptable can lead to adhesion problems.
How to Prepare a Six Panel Door for Painting
Preparation has a direct effect on the appearance and durability of the finished door. Paint will not hide grease, loose coating, deep scratches or poorly repaired dents.
1. Remove the Door Hardware
Start by removing the doorknob, lockset, latch plates and other removable hardware. Removing these components makes it easier to paint around openings without leaving rough edges or accidentally coating metal parts.
If the door has decorative hardware that cannot be removed easily, protect it carefully with painter’s tape. Press the tape firmly around its edges to prevent paint from working underneath. You can paint a door while it remains attached to its hinges, but removing it provides easier access to the bottom, top, and hinge edges. If you remove the door:
- Have someone help support it while removing the hinge pins or screws.
- Place it on stable padded supports.
- Make sure the supports do not damage the door’s surface.
- Keep the door level and secure while working.
A door can also be painted while hanging if there is enough room to work comfortably and protect the surrounding area.
2. Protect the Surrounding Area
Place a drop cloth beneath the door to catch drips and sanding debris. Cover nearby flooring, furniture and walls where necessary. If the door remains attached, protect the hinges, frame and adjacent surfaces with painter’s tape. Open a window or provide suitable ventilation, especially when using products with noticeable fumes. Keep children and pets away from the work area. Good preparation prevents accidental paint marks and reduces cleanup after the project.
3. Clean the Entire Door
Doors collect more dirt and grease than many homeowners realize. Fingerprints, hand oils, cooking residue and dust can accumulate around the handle, panel edges and lower sections. These contaminants can interfere with paint adhesion. Use a mild cleaning solution or a product suitable for the existing coating. Pay particular attention to:
- Areas surrounding the doorknob.
- Recessed panel corners.
- Horizontal rails.
- The lower portion of the door.
- Edges and frequently touched areas.
Wipe the surface with a clean cloth, following cleaner’s instructions. If rinsing is required, remove any remaining cleaning residue with clean water. Allow the door to dry completely before sanding or applying primer. Do not apply paint over a surface that still feels damp or has a cleaning product residue.
4. Inspect and Repair Surface Damage
Examine the door under good lighting. Look for dents, scratches, chipped paint, loose coating and small holes. For minor damage on a paintable wood surface, use a compatible filler. Apply it with a putty knife, remove excess material and allow it to dry according to the manufacturer’s instructions. Once dry, sand the repaired area until it is level with the surrounding surface.
For MDF or composite doors, use a repair product specifically suitable for the material. Avoid excessive moisture, which can damage exposed MDF edges and cause swelling. If the door has peeling or extensively damaged paint, determine why the coating is failing before applying another layer. Moisture, poor adhesion and incompatible previous coatings may require additional corrective work.
5. Sand the Door Lightly
Sanding helps smooth minor imperfections and creates a suitable surface for a new coating to adhere to. For a previously painted door with a sound finish, fine grit sandpaper around 180 to 220 grit is commonly suitable for light scuff sanding. The goal is to dull a glossy finish and smooth minor roughness, not remove all the existing paint.
Use a sanding sponge for recessed areas because it can follow the contours more easily than a rigid sanding block. Pay attention to:
- Raised edges around the panels.
- Existing brush marks.
- Filler repairs.
- Rough or uneven sections.
- Glossy areas that need scuff sanding.
Avoid aggressive sanding that could damage thin veneer, molded details or the door’s original profile. After sanding, vacuum away dust and wipe the surface with a clean, appropriate dust-removal cloth. Let any dampness evaporate before proceeding.
Important lead paint precaution: If the home was built before 1978, existing paint may contain lead. Doors and door frames deserve particular care because friction and repeated movement can release contaminated dust. Do not begin ordinary scraping or sanding until the potential lead hazard has been addressed. Follow EPA lead safe guidance or use a qualified lead safe professional when necessary.
Should You Prime a Six Panel Door Before Painting?
Priming is not always necessary, but it is important when the existing surface or new coating requires it. A compatible primer can improve adhesion, provide a more uniform base and help prevent stains or discoloration from showing through the finish coat.
When Primer Is Necessary
Consider using a suitable primer when:
- Painting an unfinished wood door.
- Painting new or exposed MDF surfaces.
- Covering bare wood or repaired areas.
- Changing from a dark color to a much lighter color.
- Applying paint over a surface that requires improved adhesion.
- Covering stains that could bleed through the finish.
- Switching between incompatible coating systems.
The correct primer depends on the material and existing coating. Bare wood may require a wood primer, while a glossy previously painted surface may need a bonding primer if the existing coating cannot provide adequate adhesion after preparation. Some water based primers are suitable for MDF, while certain stains or wood tannins may require a stain blocking primer. Always check the product label and technical data sheet.
How to Apply Primer
Use an angled brush to work primer into the recessed panels, corners and detailed sections. Apply a thin, even layer rather than trying to cover everything with one heavy application. Spread the primer consistently and remove any accumulation in the panel corners. Use a small roller on broader flat sections where practical.
Allow the primer to dry according to its manufacturer’s instructions. If the surface feels rough after priming, lightly sand it when permitted by the product instructions, then remove the dust before painting. Do not assume every primer can be covered immediately. Its specified drying and recoat requirements matter.
Choosing the Best Paint for a Six Panel Door
Doors experience frequent contact, movement and cleaning. They need a coating that can handle regular use without becoming excessively difficult to maintain. For most interior wood or composite doors, a dedicated interior door and trim enamel is a sensible choice.
Water Based Acrylic and Urethane Fortified Paint
Water based acrylic paints and urethane fortified acrylic enamel products are commonly used for interior doors and trim. Depending on the product, they can offer:
- Good adhesion over compatible primed surfaces.
- Easier cleanup with water.
- Lower odor than many traditional solvent based alternatives.
- A durable finish suitable for frequently touched surfaces.
- Good resistance to everyday wear.
However, products vary. Check the manufacturer’s technical data sheet for the intended substrates, application method and performance characteristics.
Oil Based Alkyd Paint
Traditional oil based alkyd coatings can produce a hard, smooth finish and have historically been used on doors and trim. However, they generally require solvent based cleanup and may have stronger odors and longer drying times than many water based alternatives.
Some modern alkyd products are waterborne or hybrid formulations, so do not assume all alkyd paints have identical application or cleanup requirements. When painting over an existing coating, check compatibility before selecting a new product.
What Paint Sheen Should You Choose?
The sheen affects both appearance and maintenance.
- Satin: Provides a relatively subtle sheen and can help disguise minor surface imperfections.
- Semi gloss: Offers more reflectivity and is generally easier to wipe clean.
- Gloss: Creates a more reflective appearance but can make surface imperfections, brush marks and uneven repairs more noticeable.
For many interior six panel doors, satin or semi gloss is a practical choice. The best option depends on the condition of the door, the surrounding trim and the desired appearance.